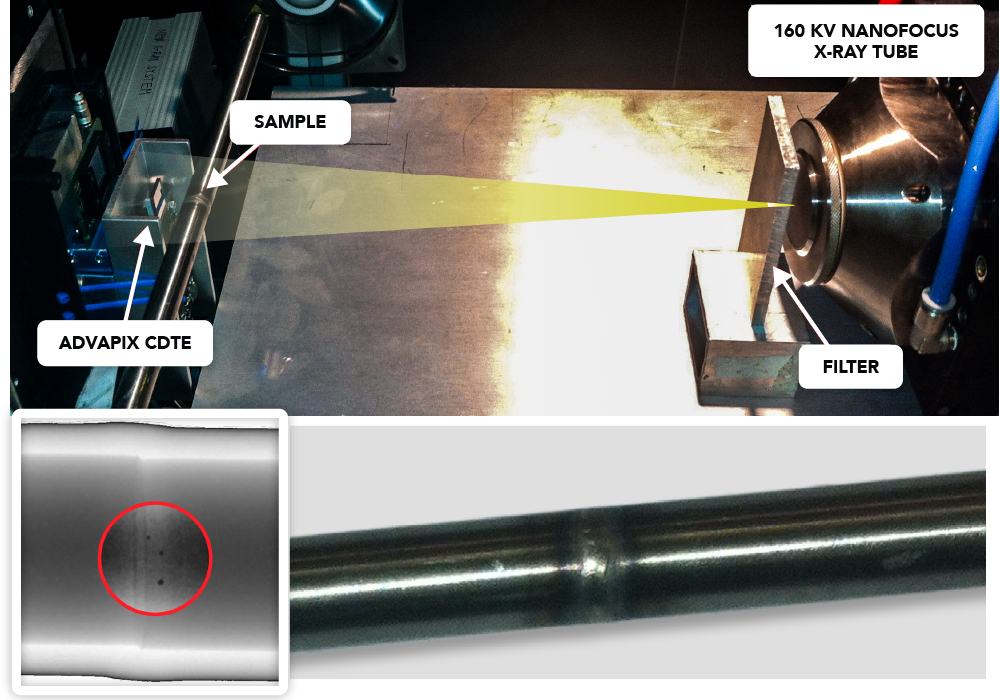
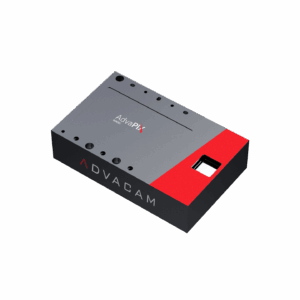
A radiographic image of the welded pipe: The welding misalignment and the three bubbles are clearly visible. The AdvaPIX CdTe camera took the image. The material thickness can be measured with minimal precision of 20 µm (rms) in the center of the pipe and 50 µm (rms) near its periphery. The bubbles with a diameter of about 100 µm can be identified with high confidence and other structural features such as cracks or cavities. Go on AdvaPIX models ›

